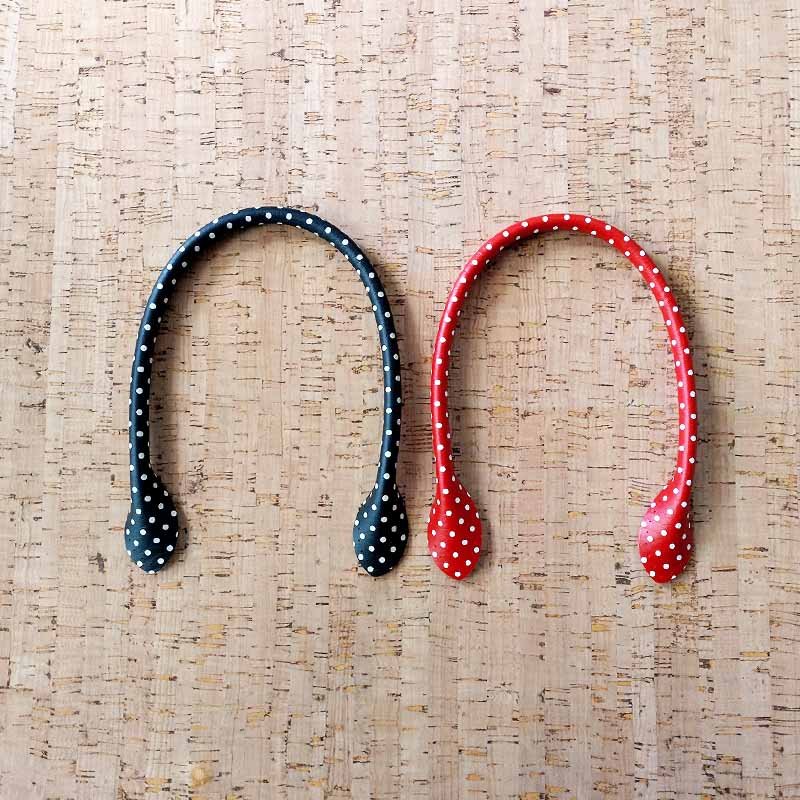
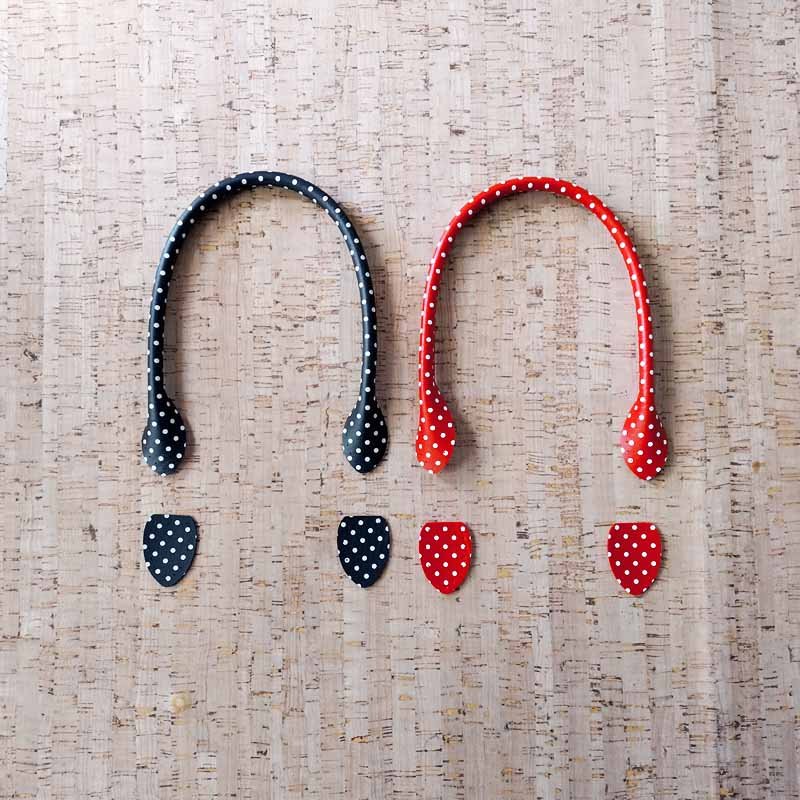
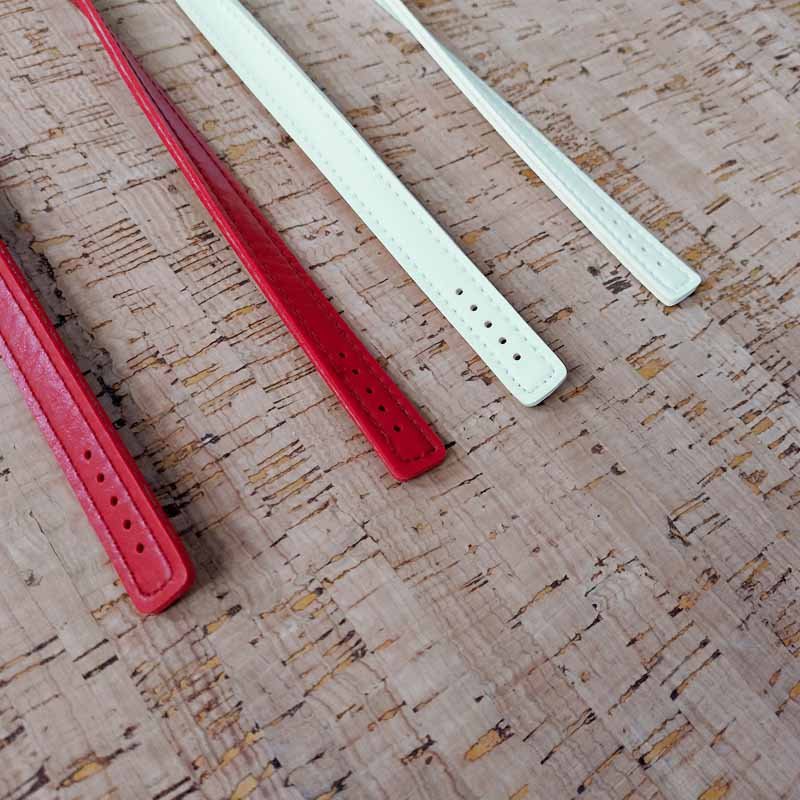
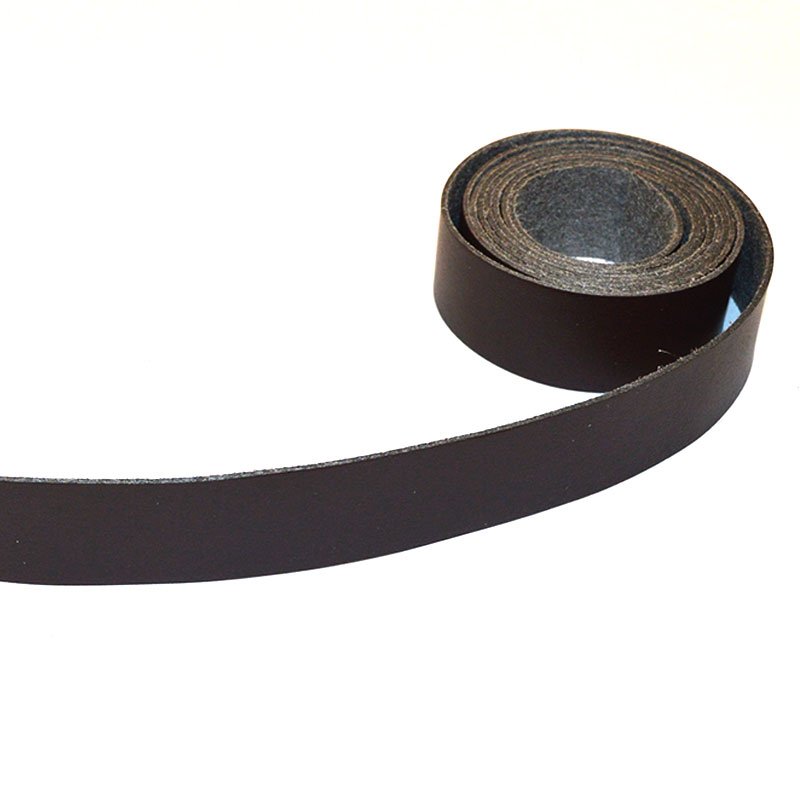
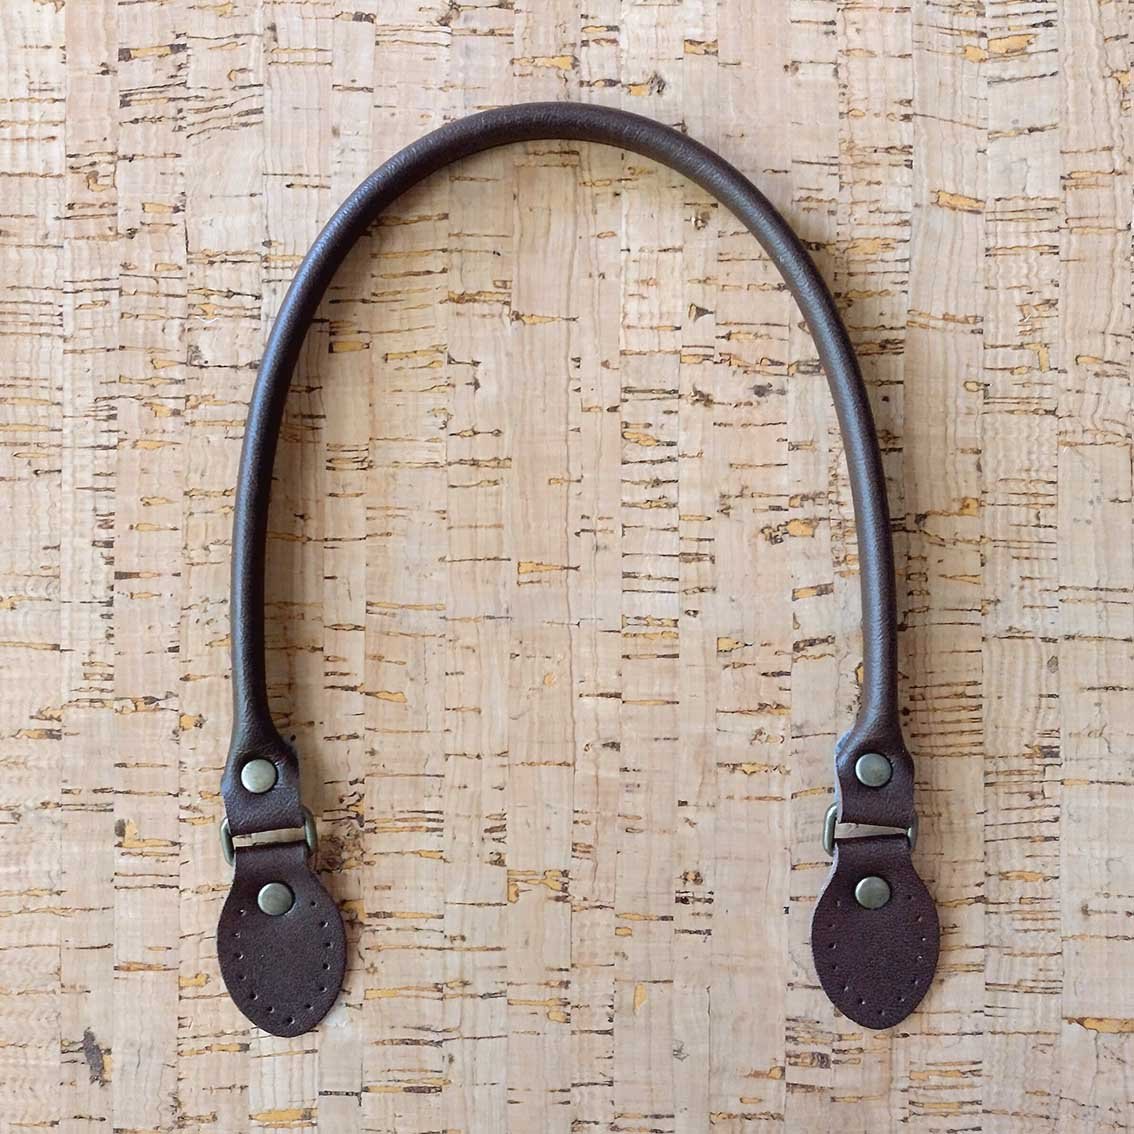
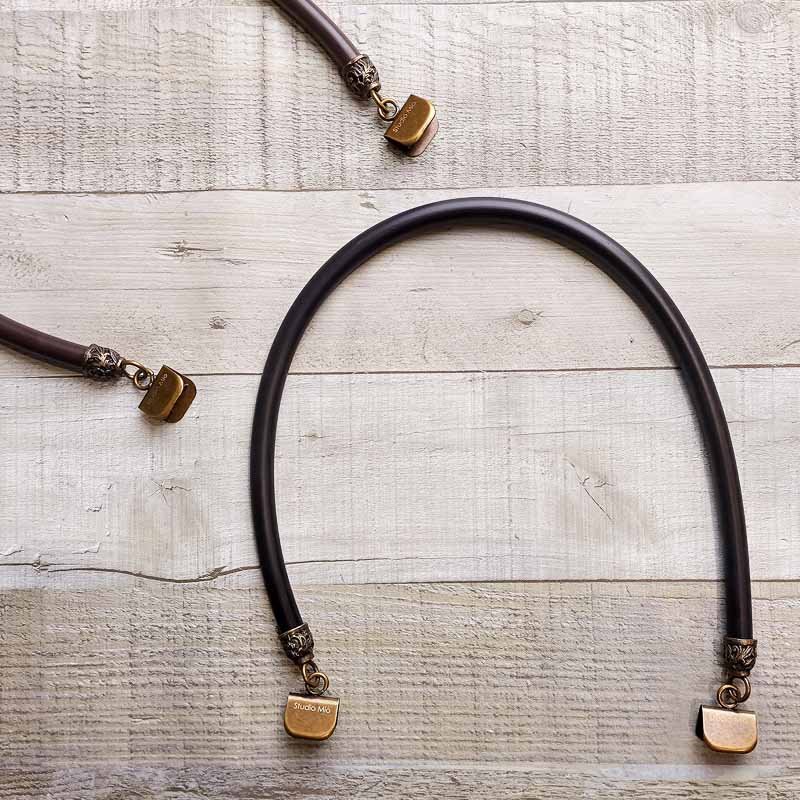
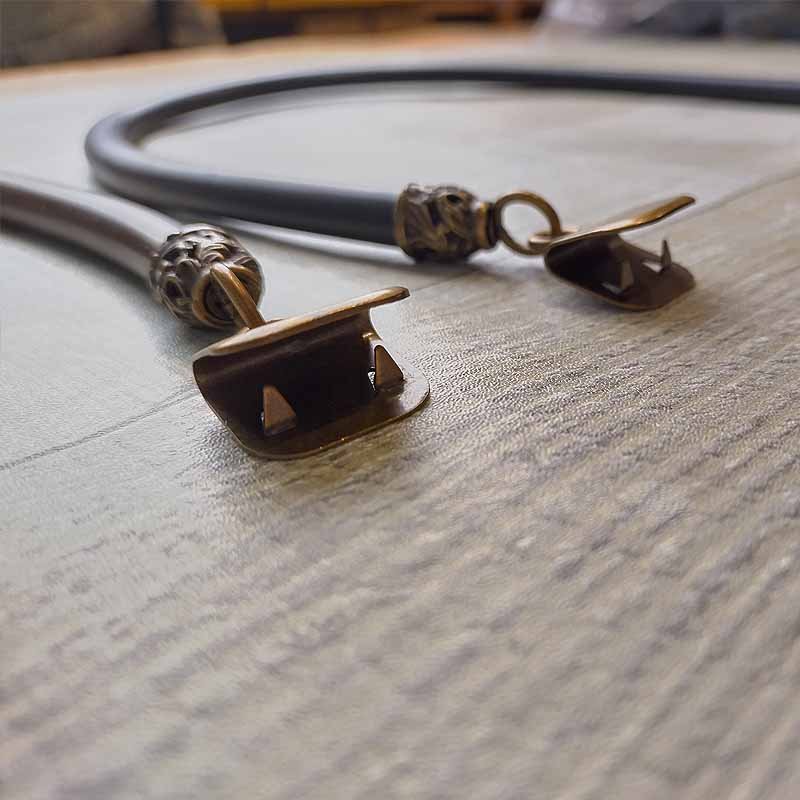
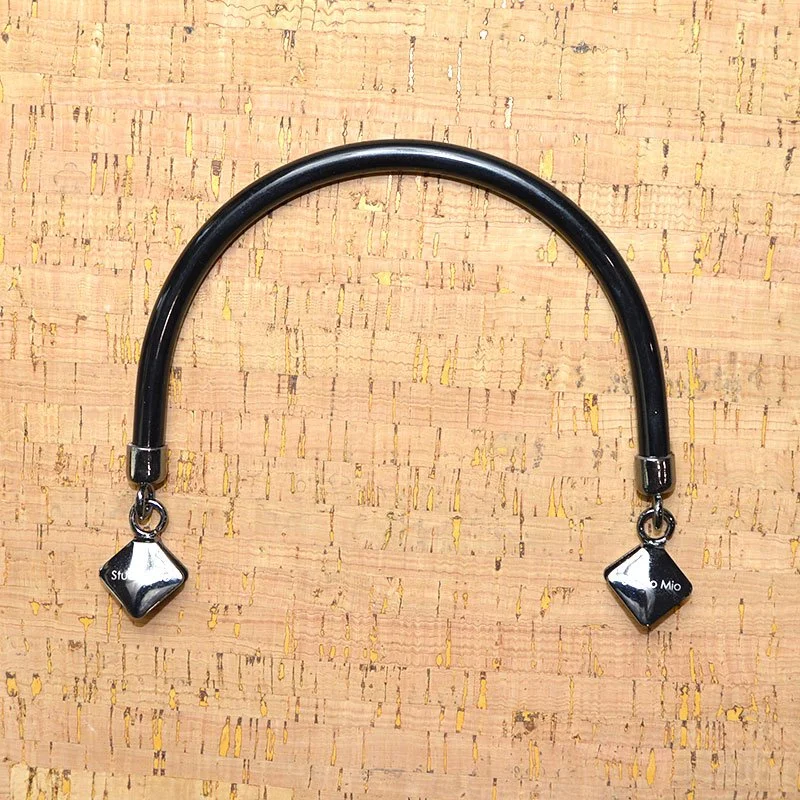
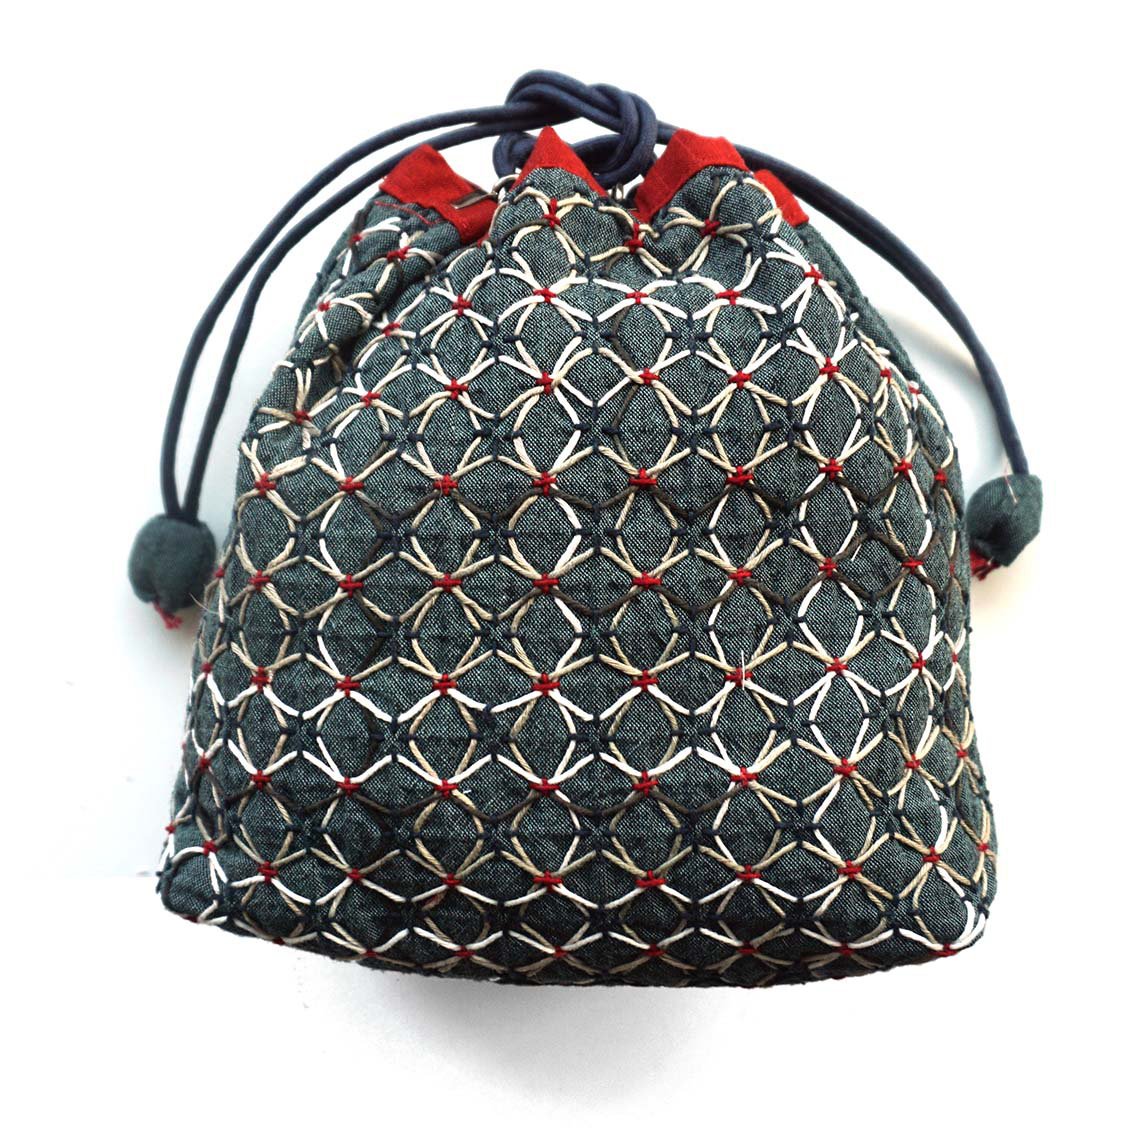
Fusible Bias Tapes, Sashiko & Bag Making Supplies


List of Items Needed to Start Sashiko: 1. Sashiko needle 2. Sashiko thread 3. Fabric (preferably cotton or linen) 4. Scissors (fabric scissors preferred) 5. Thimble 6. Marking tools (like fabric chalk or pens) 7. Ruler or measuring tape 8. Quilting hoop or frame (optional for stability) 9. Iron (for pressing fabric) 10. Patterns or templates (for design inspiration) This list should help you gather everything you need to get started with Sashiko!
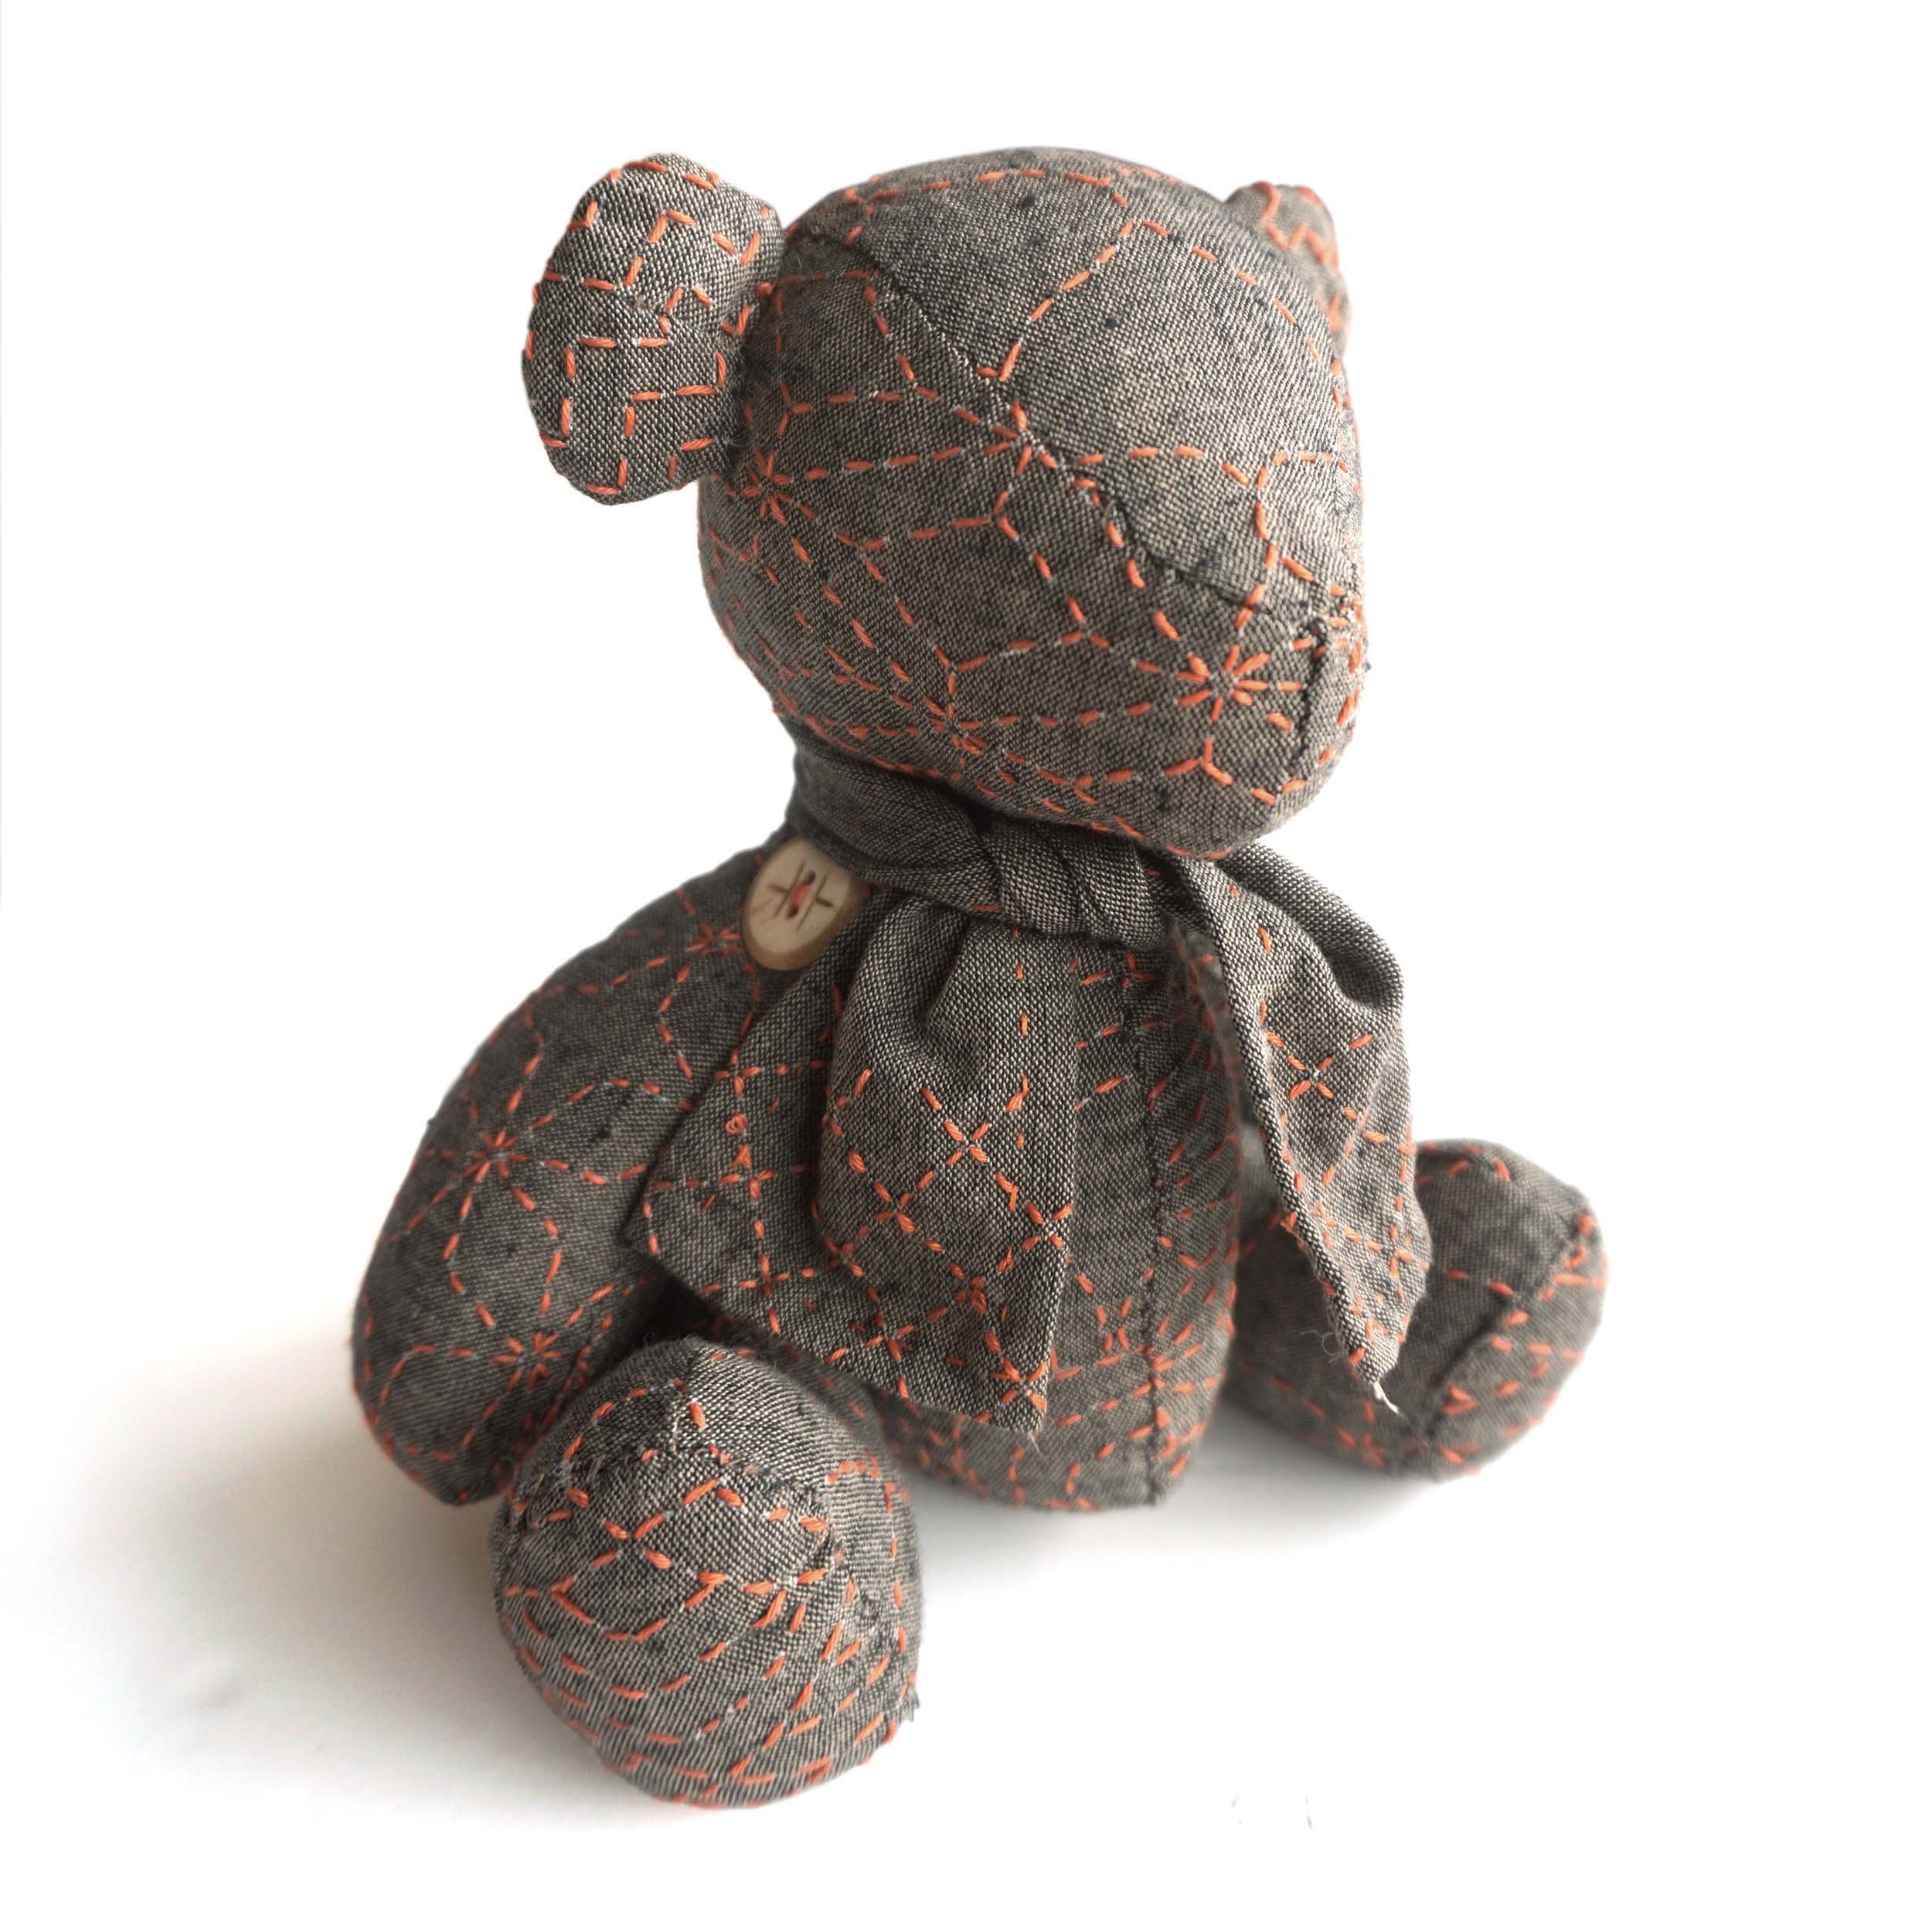
Basic Sashiko Stitching Instructions: 1) Aim for a stitch ratio 3:2 for the front to the back. 2) Use short stitches for small patterns. 3) A thread length of 50 cm is recommended for ease of stitching. 4) For straight designs, try to sew as long a stitch as possible. 5) Pull the needle out every 2 to 3 stitches for curves and draw the thread through. 6) It is essential for Sashiko stitching to be neatly aligned, with the thread properly stretched.
Starting & Ending Instructions: 1) Insert needle from back of the fabric. 2) Make three small stitches back towards the starting point, then turn and stitch over those three stitches to continue. 3) At the end of stitching, pull the needle out to the back and make three small return stitches, picking up only a little bit of the fabric so that the stitches do not show on the front.